

 See My Latest Article on HelloNation
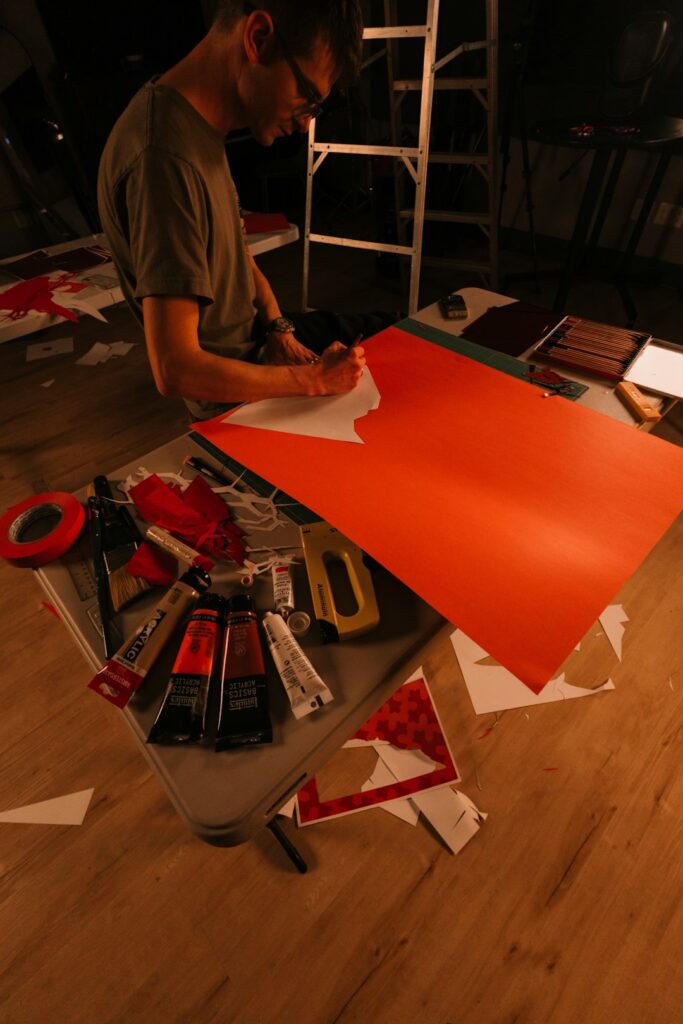
Custom signs are created through a step-by-step process that combines communication, design, materials, fabrication, and installation planning. Whether the finished sign is intended for a home, community space, office, event, or public-facing property, the result depends on decisions made long before any material is cut or printed.
What is the first step in creating a custom sign?
The first step is defining the sign’s purpose. A sign may identify a building, provide directions, display a message, support an event, mark a room, or improve visibility from a distance. Each purpose affects the sign’s size, layout, materials, colors, and mounting method.
Before design begins, it helps to answer several basic questions:
- What information must the sign communicate?
- Who needs to read it?
- Will people see it while walking, driving, or standing nearby?
- Where will it be placed?
- How long should it remain in use?
- Will it be exposed to sunlight, rain, heat, wind, or humidity?
A sign meant to be read from a vehicle requires different lettering and spacing than a small interior sign viewed at close range. In Columbia, outdoor signs may also need to withstand intense summer heat, strong sunlight, heavy rain, and occasional severe weather.
How is the sign’s size and location determined?
The sign’s location usually determines its practical dimensions. A design that looks balanced on a computer screen may be difficult to read once installed above a doorway, along a fence, or near a roadway.
The planning process considers:
- Viewing distance
- Available wall, post, window, or ground space
- The height of the sign
- Nearby trees, buildings, poles, and other visual obstructions
- Lighting conditions during the day and evening
- Whether the sign will be viewed straight on or from an angle
- How people will approach the sign
Measurements should include both the surface where the sign will be placed and the surrounding area. A sign may technically fit on a wall but still look crowded if it is too close to corners, windows, rooflines, or utility equipment.
For signs near public rights-of-way, property boundaries, sidewalks, or roads, local rules may affect placement, height, illumination, and structure. Requirements can differ depending on the property type and location, so regulations should be checked before fabrication begins.
What happens during the design stage?
The design stage turns the purpose and measurements into a visual plan. It usually includes the wording, typeface, colors, images, borders, spacing, and overall shape.
Good sign design gives priority to quick understanding. A viewer should be able to identify the main message without studying the sign for a long time. This is especially important for signs viewed from moving vehicles or in busy environments.
Several design choices matter:
Lettering
Letters need sufficient size, contrast, and spacing. Decorative lettering can be attractive, but it may reduce readability when viewed from a distance or in low light.
Color
Color affects both visibility and mood. Strong contrast between the background and lettering generally improves legibility. Dark lettering on a light background or light lettering on a dark background is often easier to read than closely matched tones.
Layout
The most important words should receive the greatest visual emphasis. Too much text, too many images, or excessive decorative detail can make a sign harder to understand.
Shape and proportion
A sign’s shape should support its purpose and mounting location. Horizontal formats often work well for names and directions, while vertical or compact formats may suit doors, posts, and narrow walls.
A design proof or digital mockup is commonly used to check proportions before production. This stage can reveal errors in spelling, crowded text, poor contrast, or a design that does not suit the intended location.
Which materials are used for custom signs?
Material selection depends on the sign’s environment, expected lifespan, appearance, and maintenance needs. Common options include wood, metal, plastic-based panels, acrylic, vinyl, and composite materials.
Each material has different characteristics:
- Wood can provide a natural or traditional appearance but may require sealing and periodic maintenance outdoors.
- Metal offers strength and a durable surface, although some finishes may need protection from corrosion.
- Acrylic and similar panels can create a clean, modern appearance and work well for many interior applications.
- Vinyl is useful for lettering, graphics, temporary messages, windows, and smooth surfaces.
- Composite panels can provide a stable, relatively lightweight option for outdoor signs.
Columbia’s warm climate and extended periods of sun exposure make UV resistance an important consideration for exterior signs. Rain, moisture, temperature changes, pollen, dust, and insects can also affect finishes and mounting hardware. A material that works well indoors may not be suitable for a sign exposed to weather year-round.
How are graphics, lettering, and images applied?
The visual elements may be printed, painted, cut from sheet material, applied as vinyl lettering, or produced as raised dimensional pieces. The method depends on the desired appearance, surface, budget, and expected exposure.
Some signs use a single production method, while others combine several techniques. For example, a panel may include a printed background, raised lettering, and a protective coating. A dimensional sign may use individually cut letters attached to a backing surface.
The application process must account for surface preparation. Dust, grease, moisture, and uneven surfaces can interfere with adhesion or create visible flaws. Outdoor applications may also require edge sealing, weather-resistant adhesives, protective laminates, or corrosion-resistant fasteners.
What quality checks occur before installation?
Before a sign is installed, it should be inspected for accuracy and structural condition. Common checks include:
- Correct spelling and wording
- Proper dimensions
- Consistent colors
- Clean edges and aligned graphics
- Secure attachment of raised or layered elements
- Smooth surfaces without bubbles, wrinkles, or unwanted marks
- Adequate mounting points
- Appropriate hardware for the sign’s weight and location

A sign that includes lighting or electrical components requires additional review. Wiring, power connections, timers, and illuminated elements must be suitable for the environment and installed safely.
How is installation planned?
Installation is more than attaching a sign to a surface. The mounting method must support the sign while accounting for wind, weight, vibration, moisture, and the condition of the wall or structure.
Possible mounting approaches include:
- Wall brackets
- Posts or poles
- Hanging hardware
- Window or door application
- Freestanding bases
- Flush-mounted fasteners
- Rails, frames, or standoffs
The surface itself matters. Brick, concrete, wood, metal, glass, and finished siding each require different fasteners and preparation. A sign placed on an aging wall may need additional support, while a large outdoor panel may require engineered posts or a reinforced foundation.
Safety is a key concern for elevated, heavy, illuminated, or structurally exposed signs. Installation may involve ladders, lifts, electrical connections, traffic exposure, or overhead hazards. Those conditions should be handled by trained individuals with the appropriate equipment and knowledge.
How long does the process usually take?
The timeline depends on the sign’s complexity, material availability, design revisions, fabrication method, permitting needs, and installation conditions. A simple interior sign may move from design to completion relatively quickly, while a large exterior sign with custom metalwork, lighting, or structural supports may require substantially more planning.
Delays can occur when measurements are incomplete, artwork is low quality, approvals are unresolved, materials are backordered, or weather prevents safe installation. Clear information at the beginning usually reduces changes later.
What are common mistakes to avoid?
Several problems appear repeatedly in custom sign projects:
- Using too much text for the viewing distance
- Choosing appearance over readability
- Ignoring sunlight and weather exposure
- Failing to verify measurements
- Selecting hardware without considering wind or wall construction
- Forgetting nighttime visibility
- Waiting until fabrication to check spelling
- Assuming every sign location has the same regulatory requirements
A successful custom sign is not simply attractive. It is readable, appropriate for its setting, made from materials suited to its environment, and installed in a way that remains safe and secure over time.